Distributed in the USA

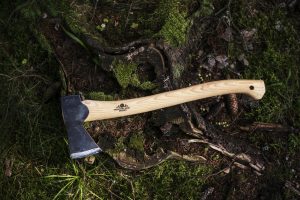
Man has used axes for more than a million years. Everything from a weapon and a a tools to use the axe as a cult objects. There are many different ways to use an axe. It’s important to know what you will use the axe for before purchasing one. Let’s find out more about how to split and store wood, a little about carpentry and crafts, information about axe throwing and much more!
Felling and limbing

Keep both hands on the handle to reduce the risk of slipping or making a wrong cut. Place one hand further up the handle and then let it slide down the handle as the axe is swung downward. Thick branches may sometimes require a counterstroke or a sidestroke to prevent splitting.
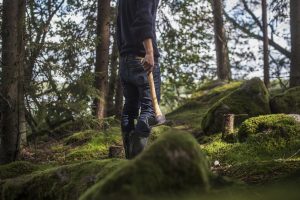
Always stand so you have the log between you and the branches you are removing, to reduce the risk of cutting into your leg if you slip.
Check that there are no small branches or anything else in the path of the axe. Clear any hanging branches that might deflect the swinging axe. Stand firmly on the ground and never balance on logs or branches.
Direction of chop: from root end to top end
Log splitting
SPLITTING LARGE, KNOTTY AND CROSS-GRAINED LOGS

Try to strike through the center of the log, as this makes it easier to split even the knottiest of wood. Also, try to chop straight through the knot, if there is one. Large logs can be split in several stages.

Never push the handle sideways if the axe head is stuck in the wood – at worst, pieces may chip off the edge or the handle may break. Remove it instead by pumping the handle up and down.
When the logs are really big, knotty or cross-grained, you might need to use wedges, in which case use two wedges at a time. Insert one wedge near one edge of the log. Drive a wedge in with a splitting maul or sledgehammer to make a crack.

Insert the second wedge further in from the edge and hit it until the split widens. Move the first wedge along and so on until the whole log has split apart.

DO NOT use an ordinary axe as a wedge or sledgehammer. It is not made to withstand the force and may therefore become deformed. Only a maul, with its weight and sturdy poll with beveled corners, is suitable for striking a wedge.
Remember that there is always a risk in striking steel against steel. A fragment of steel could fly off and damage your eye, for example. It is therefore advisable to wear safety goggles. Make sure that the wedge and the corners of the maul’s poll are kept beveled.
FIREWOOD
Fresh wood contains about 45 percent water. Before the wood is put on the fire, the water content must be down to about 25 percent or less, which it normally will be after a summer’s drying. Bark, particularly birch bark, slows the drying process, so split wood dries more easily than unsplit wood. It also means that split wood does not get mouldy or rotten as easily, and of course, is much better to make a fire with.

When it comes to Northern Europe’s most common trees, oak and birch wood have the greatest energy content, followed by pine, spruce and aspen, in that order. Winter is regarded as the best time of year for felling deciduous trees. Saw the trunk up into suitable sizes of log with a chainsaw or bow saw.
Split the wood as soon as possible. The more it dries the tougher and more difficult it is to split. It is quite easy to split even thick pine when newly felled, but it becomes very difficult to split after a year. Frozen wood is brittle and easy to split. If the wood is too narrow to split, peel off a string of bark along the log and it will dry more easily.
DRYING AND STORING FIREWOOD
 Firewood must dry thoroughly before use. In the old days they said: “Wood should be split before Easter”; then it can dry during spring and summer, ready for burning in the winter. Particularly in Sweden, you can fell the tree and split the wood at the end of the year, so that the wood can also dry during the winter, when air humidity is at its lowest.
Bark, especially birch bark, slows the drying process, so split wood dries more easily than unsplit wood. Dry wood does not go mouldy or rotten, and is much better for making a fire with. If split wood is stacked bark-side up, the bark will act as a lid and slow down the drying process.

Stacked firewood must be chopped or at least debarked in a string to be able to dry. This is particularly important for hardwood species, which generally have denser bark than softwoods. Place the stack on dry, well-drained ground, preferably in a sunny position. Put some poles on the ground before stacking so that the wood does not touch the damp ground. Make sure that the lowest layer of wood is placed bark-side down to reduce the risk of it rotting. Stack the wood quite loosely, bark-side down, to speed up the drying process. In the old days they said the gaps should be big enough for a mouse to get through.
If the stack is built along a wall, leave an air gap between the two. Make the stack lean a little inwards to avoid the risk of it collapsing due to shifting during the drying process. Place the uppermost layer of wood leaning outwards like tiles to allow rainwater to run off. Another option is to place a sloping roof of planks or boarding just above the level of the stack. Do not cover the sides, however – air must be allowed to circulate through the stack and between the stack and the roof.

Another way of storing firewood is to build a round stack. Build a circular wall of large split logs. Put the smaller or uneven logs randomly in the middle. When the stack begins to get high enough, build it up in the middle and round it off to a smooth mound. Place the top layer of split logs like roof tiles so that rain and snow runs off instead of into the stack.
Wood stacked indoors must be completely dry, otherwise you might have problems with damp and mold.
Log-building
HEWING WITH A BROAD AXE

The log that is to be hewn is placed on two special stands to give the right working height. A wedge driven from the side locks the log in place. The right height of the stand is when you can sit astride it and have your feet flat on the ground. Your hands should be kept quite close to each other. Your right hand should be kept nearest to the head of the axe.
The thumb of your right hand should be kept up on the shoulder of the handle, and not around the handle, to avoid the risk of damaging your thumbnail.
Often the log twists in the drying process. If the log is twisted with checks (cracks) going downward from left to right, you have to hew away from you on the upper half of the log and towards you on the lower part. If the log is twisted in the opposite way, with checks going upward from left to right, you have to hew in the opposite direction. In so doing you avoid working in conflict with the structure of the wood.
 1: Seasoning checks
2: Upper half of log
3: Lower half of log
HOW TO HEW A LOG

Move backwards while working so that you can always check the quality of the surface you have hewn. The log should be hewn as evenly as possible for best water repellency. Since flakes of wood must not create pockets for rainwater, the log is placed upside-down for hewing, compared to how it will later be placed in the house wall. The seasoning checks are turned inwards if the inside is to be covered with paneling. Otherwise they are turned outwards to make the inside attractive and easy to clean.
Woodworking with an axe
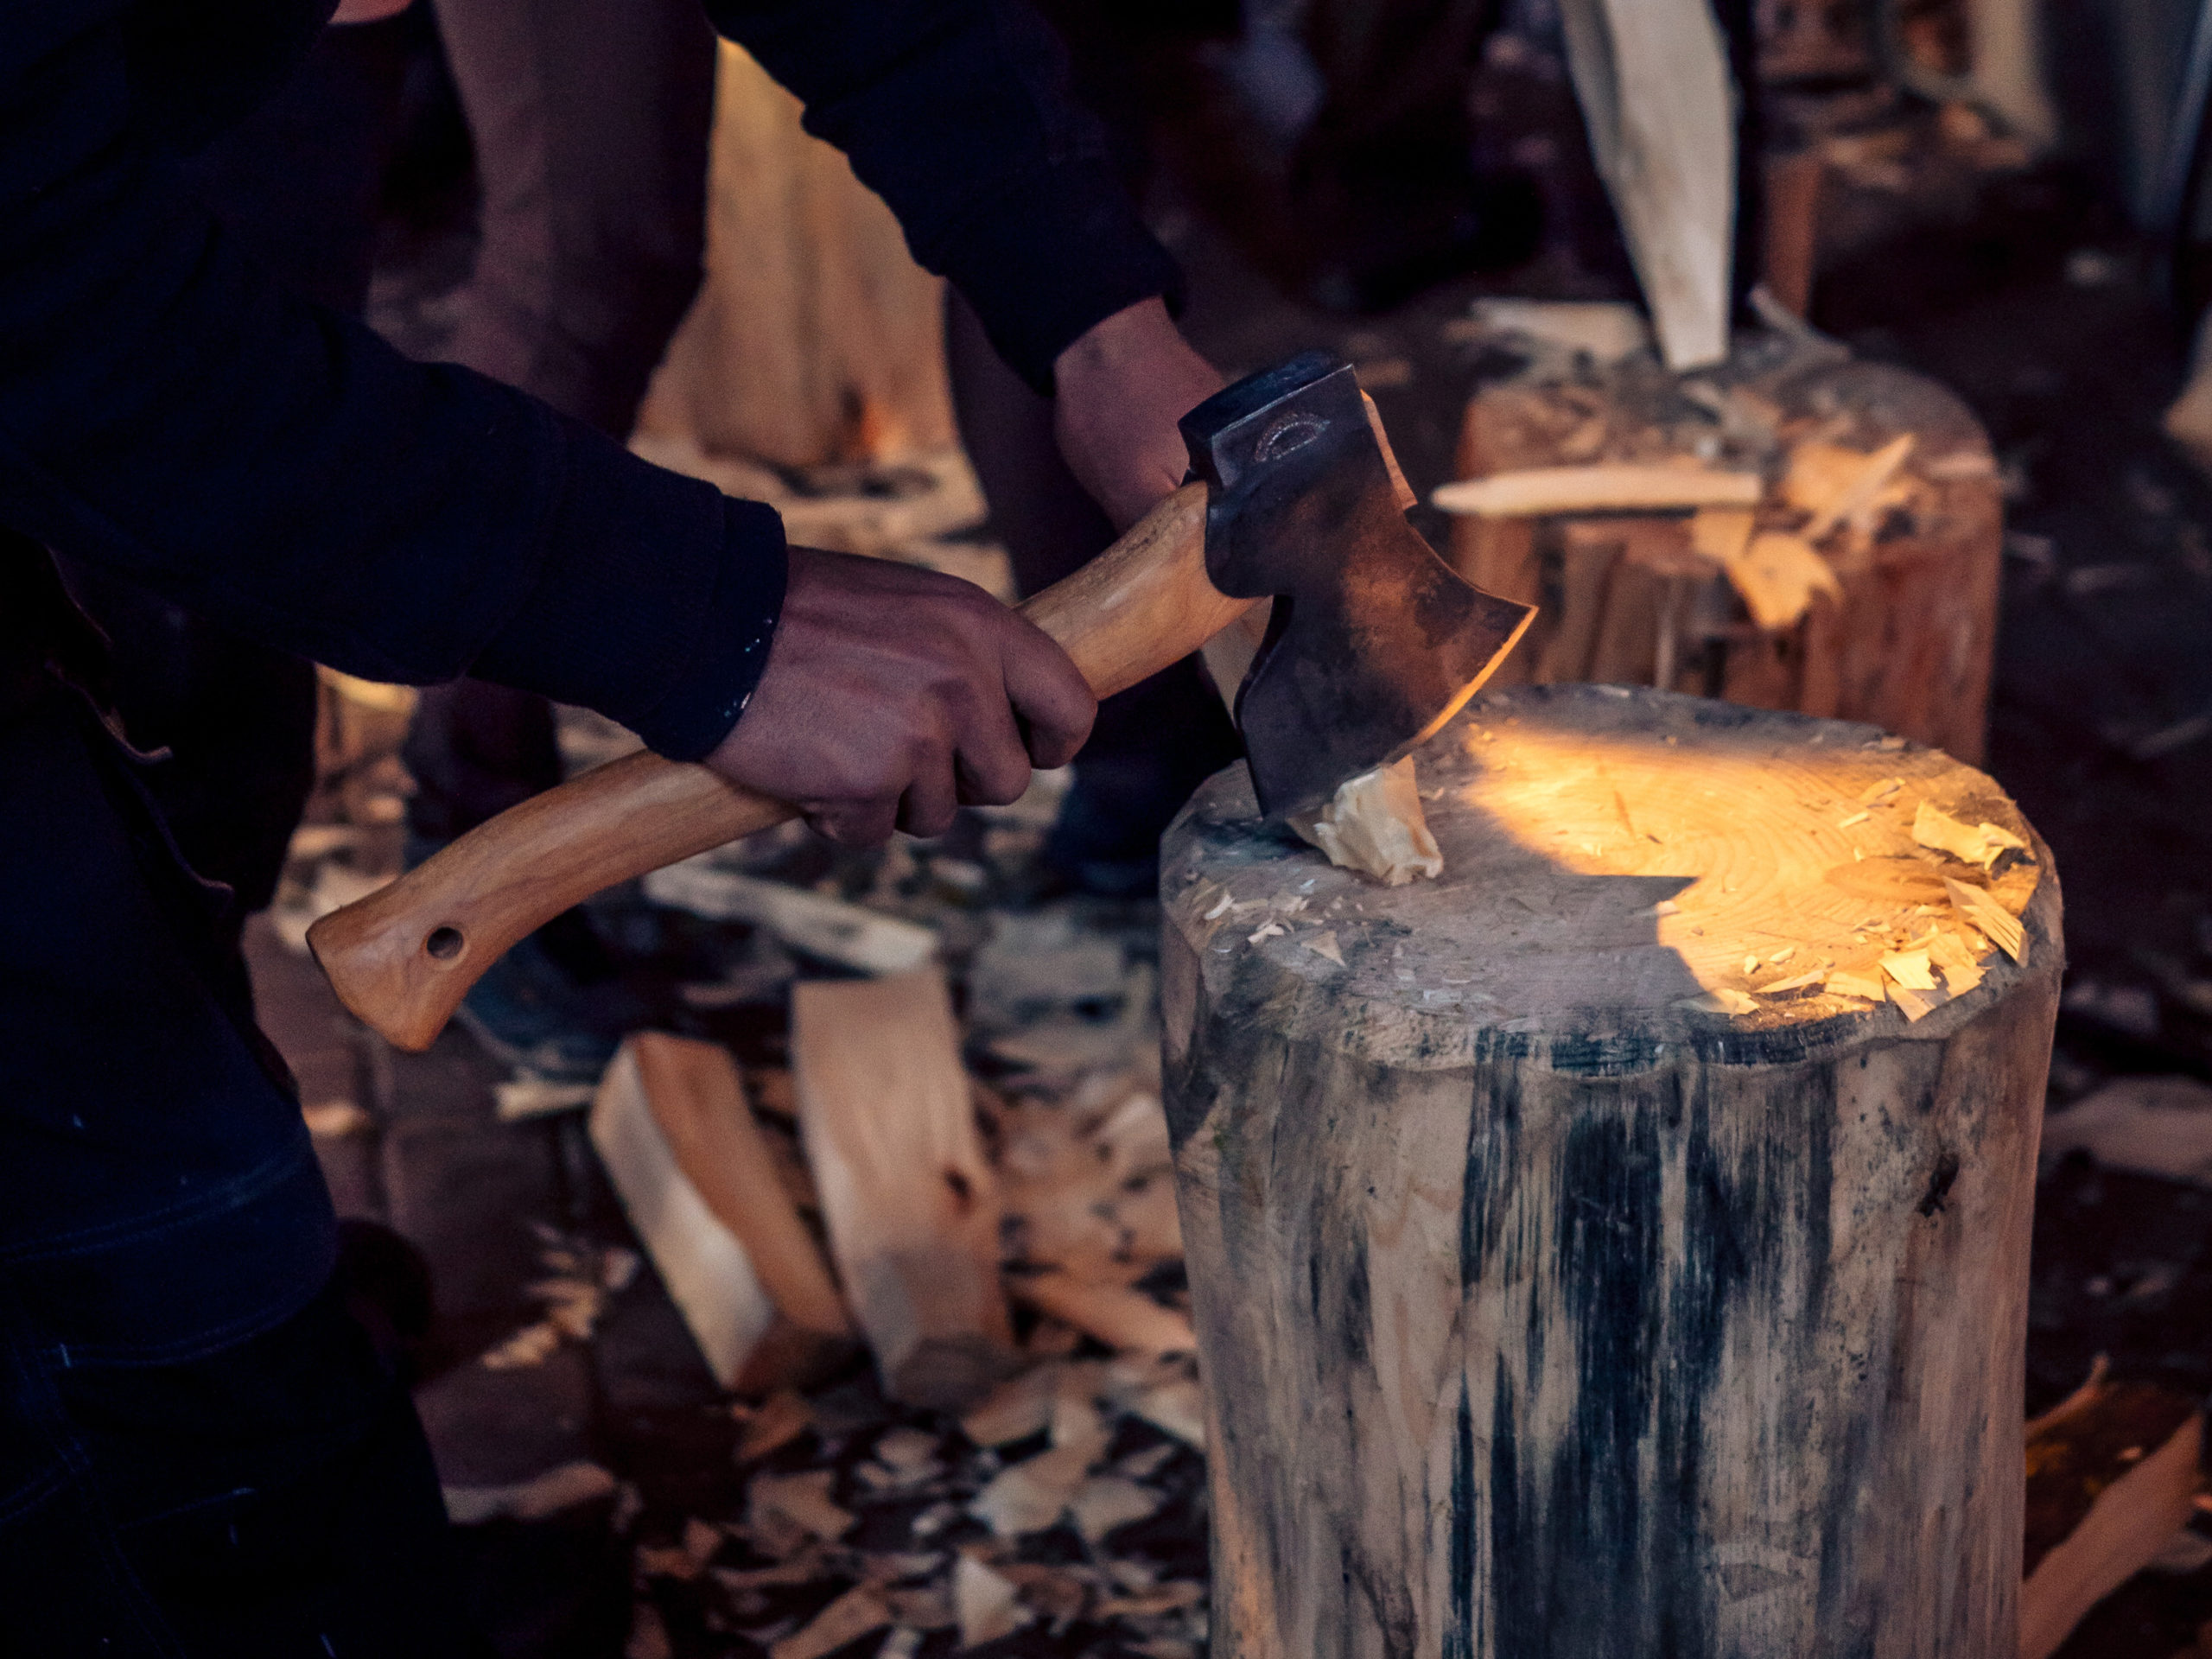
Stand the piece of wood you are working with on a chopping block. Do not use the same block as for splitting logs. The logs usually transfer sand and soil onto the block, which can blunt the edge of the axe. Sharpness is critical in this kind of woodworking. Let the edge contact the workpiece with a falling motion, so that the cutting point glides from the lower corner of the bit upwards along the edge. This action reduces the risk of slipping and hurting yourself. Also hold the workpiece away from you on the chopping block so that if the axe slips, it is more likely to cut into the chopping block rather than you.
Always cut with the grain – otherwise it is easy to split away pieces that were meant to stay put.
Common axes for woodworking include Gränsfors Bruk’s Carpenter’s Axe and Gränsfors Bruk’s Swedish Carving Axe. These axes are very often used to roughly hew timber ready for woodworking and carpentry.
Axe Throwing
From the mid-19th century until the chainsaw took over in forestry in the mid-20th century, Double Bit Axes were commonly used in particular by forest workers in Canada and the USA. The benefit of the Double Bit Axe for forest workers was that each edge could be ground differently. That way the forest workers only needed to carry one multi-purpose axe.
Often one edge was ground more finely for use in felling and the other edge was a little blunter for limbing. The Double Bit Axe was eventually so common that it became a symbol of professional forest workers in North America. These forest workers often worked away from civilisation for many months at a time and the range of leisure pursuits was obviously limited, so they amused themselves in spare moments by throwing their axes at a target, usually the end of a log.
Today the Double Bit Axe rarely appears in the forest. Instead, it is now mainly used for the fun leisure pursuit of axe throwing, where the axe is thrown at a target. Swedish and Nordic competitions are organised by the Swedish Axe Throwing Society, amongst others.
THE RULES OF AXE THROWING
Only the ‘Fore-Bit’ of the Double Bit Throwing Axe can score a hit on the target area – but the bit must stick in the target. The Fore-Bit only needs to nick the line separating two scoring areas to win the points of the higher scoring area. The winner is whoever has the best score after three throws.

1: Distance throwing line/target = 6,1 m (20′)
2: Height = 1,5 m (60”)
3: Fore-Bit
4: Back-Bit
Fire
MAKING A FIRE OUTDOORS
Begin by choosing a suitable spot. Appropriate beds for fire are sand, gravel or bare soil. Do not light a fire on flat rocks (the heat cracks them and leaves ugly black marks), peat or near bushes and trees. You can put stones around the fire you are building. Use dry sticks and branches for the fire as far as possible. In a forest you will always find dry sticks to light with – even when it is raining – like at the base of spruce trunks.
Birch bark is also excellent as kindling, but remember never to strip bark from a living birch! Start lighting with smaller sticks and build up with larger sticks as the fire takes hold.
Before you leave, extinguish the fire carefully, preferably with water, and restore the ground as much as possible if it is just a temporary place for a fire.
Respect any bans on lighting fires. These are particularly common during dry springs and summers. Also bear in mind that the Right to Roam does not permit you to break off or cut down living bushes and trees. A Teepee Fire Lay (vertical firewood) gives you a quick burning fire, while a Crisscross Fire Lay (horizontal firewood) gives a more prolonged fire.

MAKING A FIRE IN A FIREPLACE OR STOVE
Check that the damper is open. Place the firewood close enough together that the burning logs will warm each other, but far enough apart that the fire is still aired. Pack balled-up newspaper or a piece of birch bark as kindling under the firewood. In a wood stove you should start by burning some paper or bark in the soot door just before you light the fire. If you are worried that it might smoke, you can check the direction that the air draws in the stove by holding a lit match in the upper part of the stove opening. If the flame draws out of the stove, you should make sure that your kitchen extractor fan is turned off.

If you still have cold air coming out from the chimney you can open a window in the room just when you light the fire. The quick influx of air generally goes up through the chimney, making it draw in the right direction. You can use the same method to ‘turn’ a stove or a fireplace that is smoking. Do not choke the air supply too much once the fire has taken. Check the air supply by going out and looking at the smoke. A correctly burning wood fire emits only carbon dioxide and steam, and therefore you should hardly see any smoke at all. If it is very cold, the smoke may be white.
PITCHY WOOD AND ASH
PITCHY WOOD
 You will sometimes come across yellowish-red and strong smelling pitchy wood, particularly in old damaged trunks and stumps of pine. Dried, this resinous wood is one of the best things you can use to light a fire with. Saw the wood into lengths of about 10 cm and then split these into thick kindling. Just one split of pitchy wood can light the most impossible fire.
ASH
Ashes raked out of the stove or the fireplace too early can cause a fire. Ashes ought to be kept a couple of days in a fireproof container for remaining embers to cool off. Ash from a wood fire can be saved and spread over the lawn or flower beds, but not on a potato patch, as the potatoes can end up shriveled. Wood ash contains some useful salts, above all potassium bicarbonate, known as potash, and raises the pH value of acidic soil. You can also mix a little wood ash into your compost.