Distributed in the USA

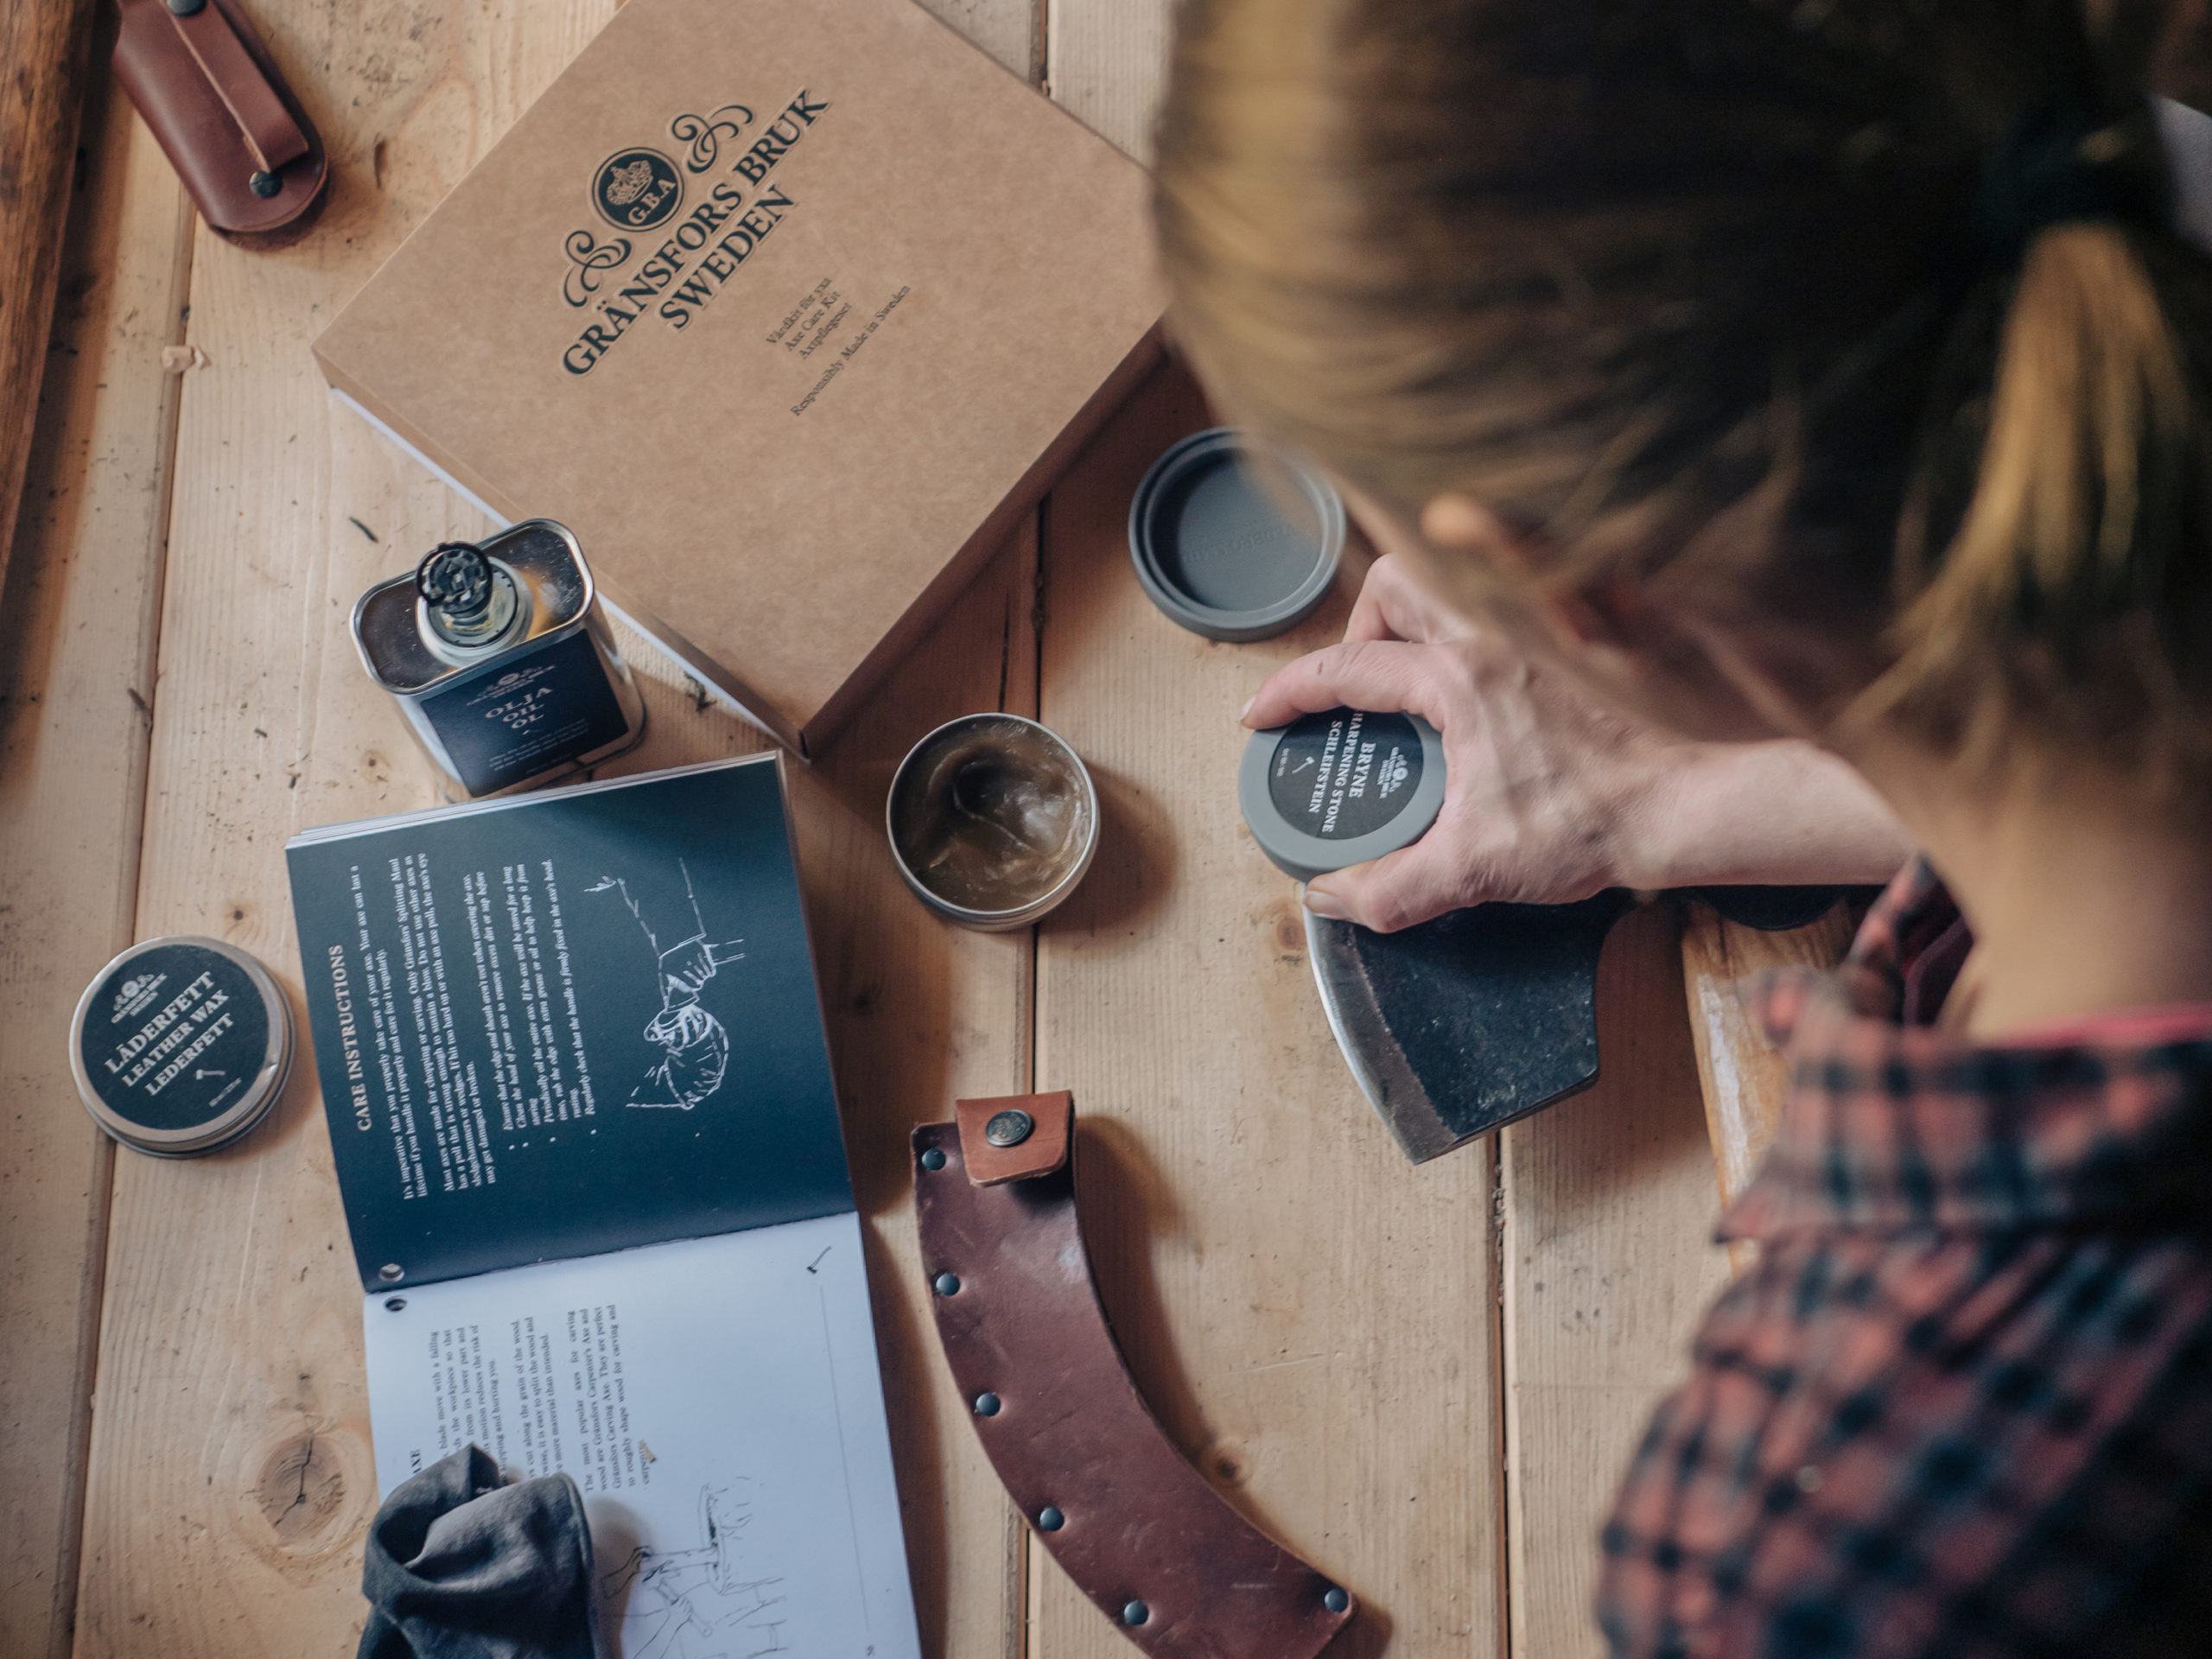
It is important that you take care of your axe. If you take good care of your axe and maintain it, it can last your entire life.
Head
Quality steel contains iron and therefore will rust if exposed to moisture. This is why it’s necessary to periodically oil the axe head. Any variety of all-purpose oil or paste wax found in a hardware store will sufficiently protect the axe head from rust. Make sure that the axe head and the leather sheath are dry before storing.
Handle
Extreme temperature can cause the handle to swell or shrink compromising the head-to-handle fit. Axes should be kept in a dry place, but not so dry or warm that the handle risks shrinking in the axe head. Check routinely that the axe handle is secure in the axe head. Regularly treating the handle with wood conditioner will minimize the tendency for the handle to shrink or expand. Boiled linseed oil, paste wax, beeswax and orange oil are examples of suitable conditioners.
Poll
Only the poll of a Splitting Maul or Carpenters axe are specifically designed to withstand hammering or striking. No other Gränsfors Bruk models have polls designed for this use. The eye of the axe may deform or break if the poll is used incorrectly. It’s also not recommended that an axe be used as a wedge.
Sharpening
The sharpening of an axe is done in several steps, depending on how worn down the axe head is. Microchips can develop in the course of routine use but can be easily repaired as outlined below.
File
Nicks and damage can be filed down before the sharpening process begins. The easiest method is to use a Gränsfors Bruk Axe File or any similar tool designed to file a steel edge. File the same amount on each side and along the edge, making sure the original bit shape is retained.
An emery wheel can also be used. The whole bevel face should be in contact with the wheel/file if it is a straight bevel face. Exercise caution when using a wheel; excess friction will overheat the steel and could affect the temper. If this happens, the axe will lose its ability to hold an edge.
Sharpen
Gränsfors Bruk Stone
Normal wear and tear or dullness can be remedied with a Gränsfors Bruk Ceramic Sharpening Stone or the Axe Diamond File.
The sharpening stone may be used wet or dry, but is most effective when routinely rinsed in water throughout the sharpening process. To preserve the life of the stone, hone along its edges rather than the middle. Turn the axe frequently and hone both sides to remove the feather edge. If using dry, wipe off the whetstone occasionally so that the burrs do not damage the edge. Thoroughly rinse the stone before putting away.
- Begin on one side of the axe bevel face with the coarse side of the stone.
- Working your way along the entire bevel face, apply even pressure using a rotating motion. Continue this process moving back and forth along the entire bevel face several times.
- Repeat step 2 on the other side of axe. Continue this numerous times on both sides.
- Now with the fine side of the stone, repeat steps 2 and 3 above until desired results are achieved.
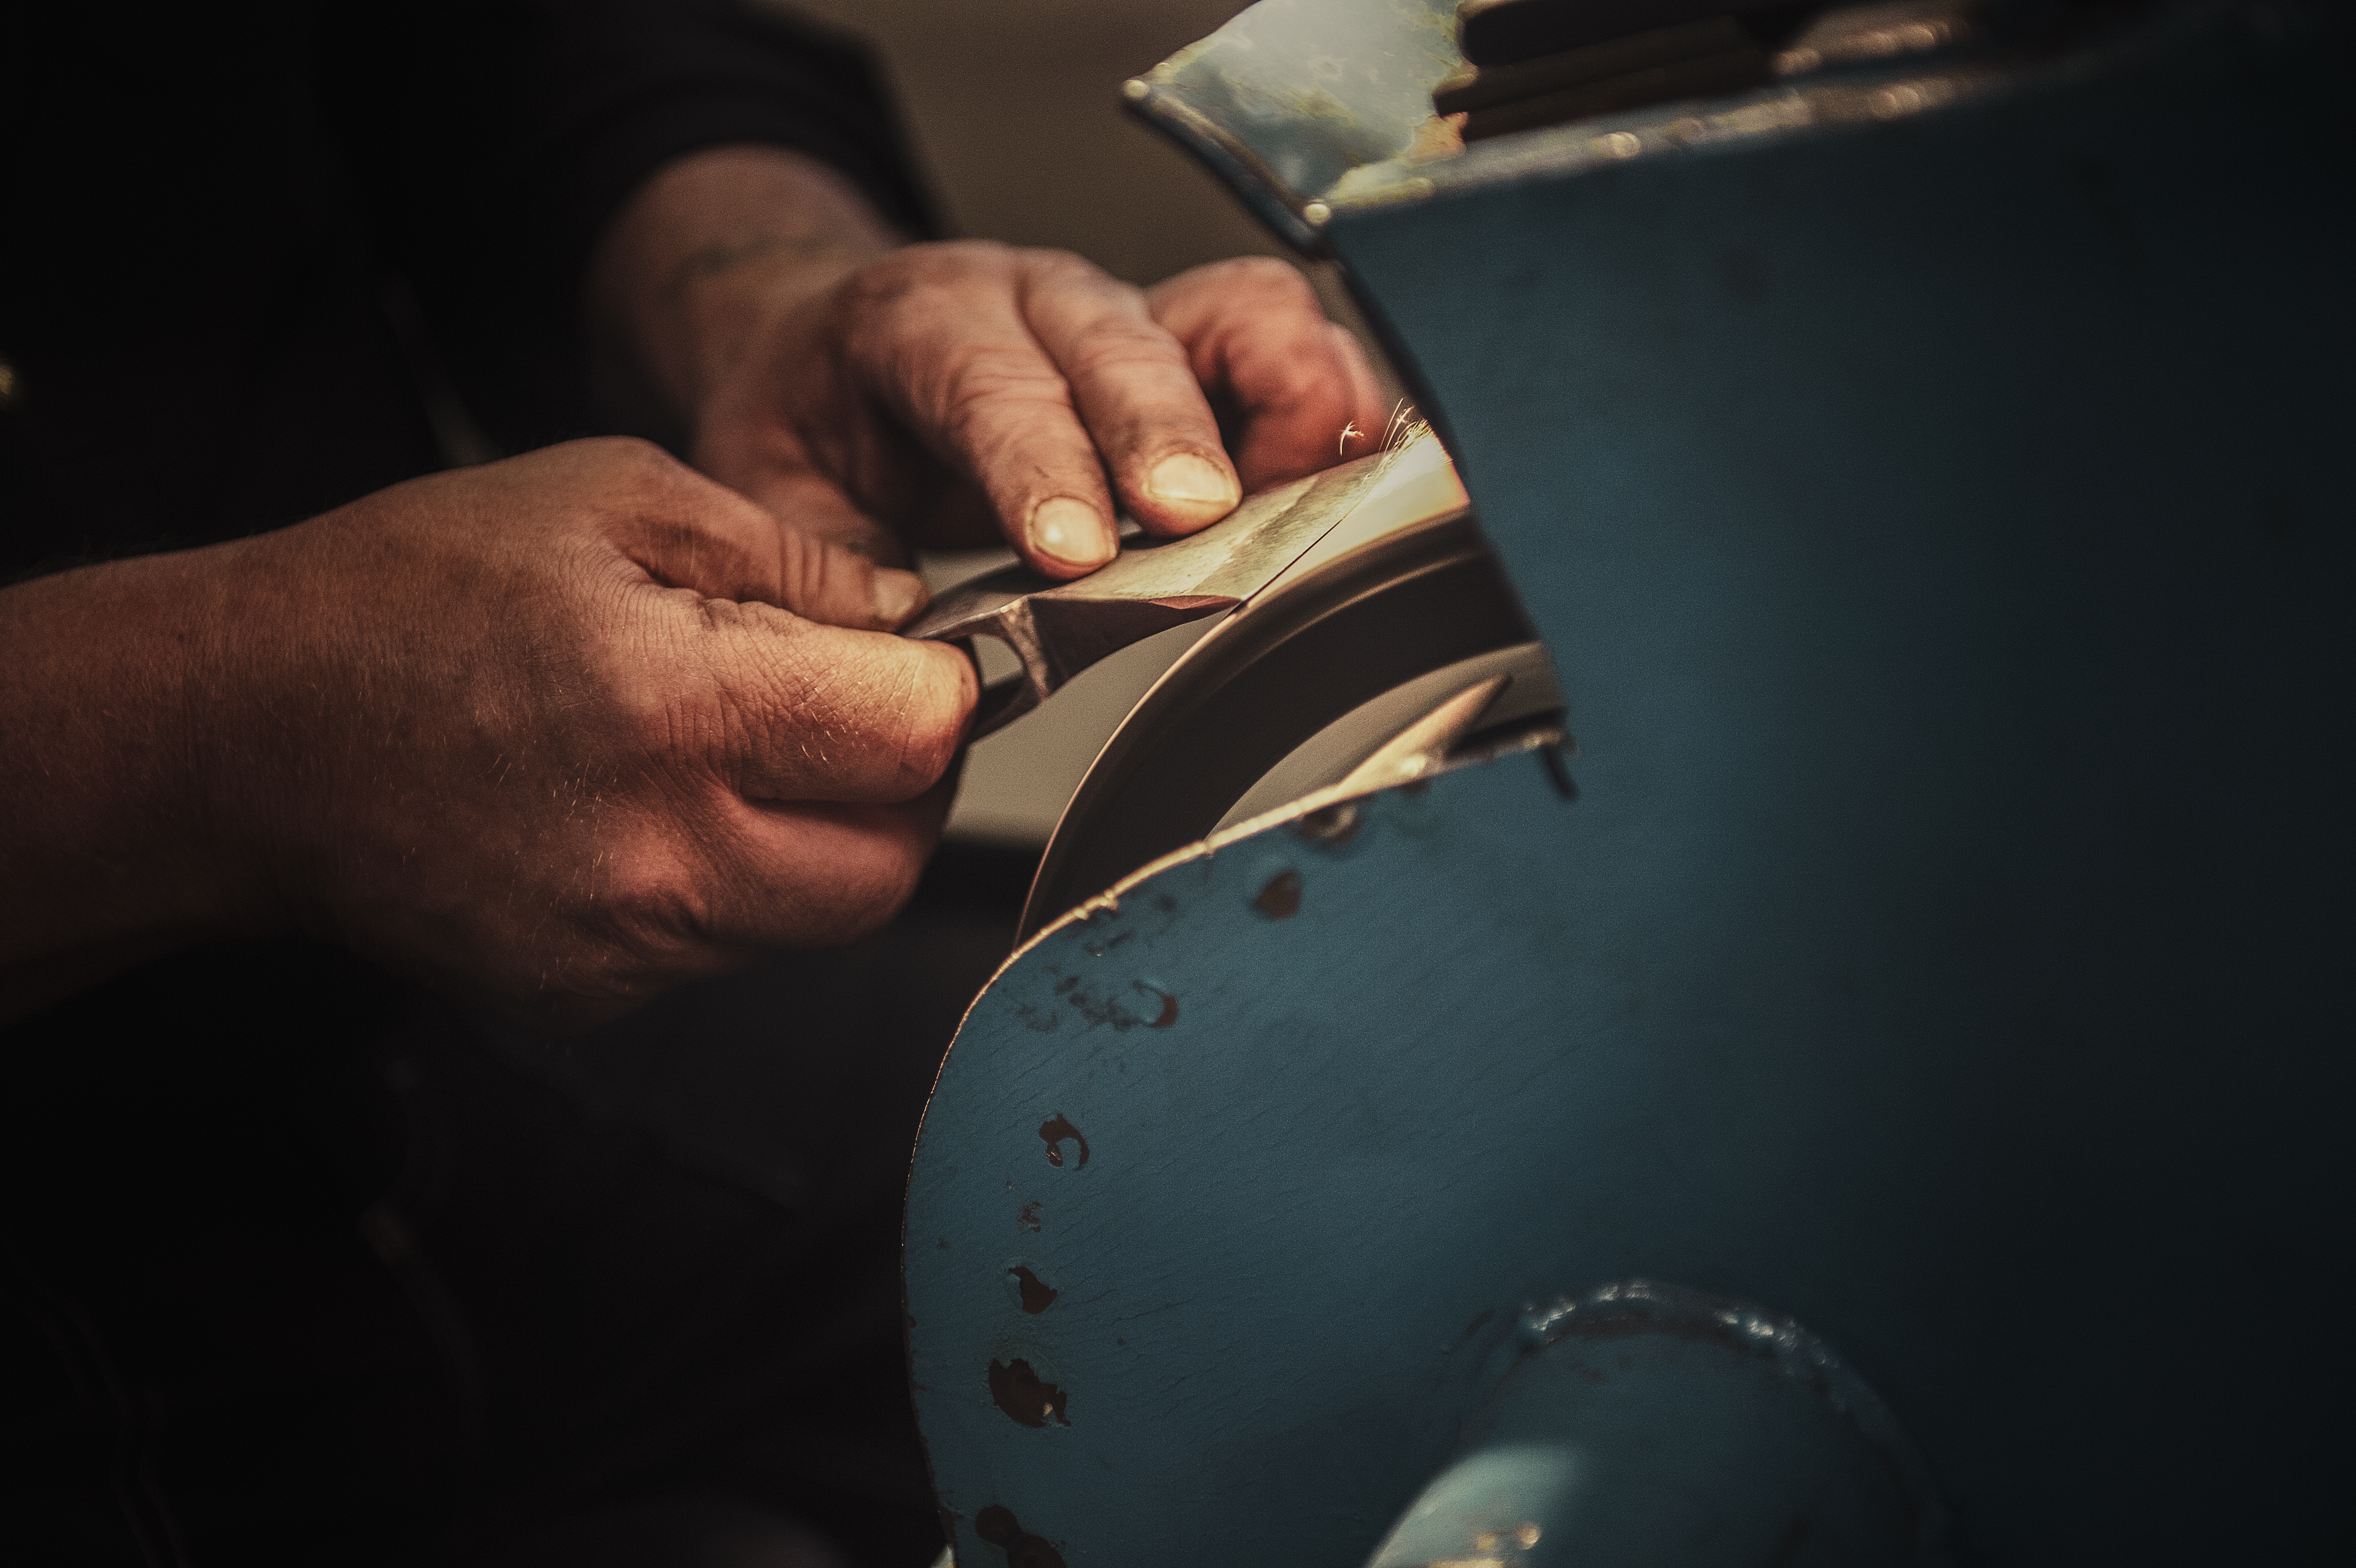
Bench Grinder
A wet bench grinder is also a suitable alternative. Remember to keep the original shape of the edge. It’s important to maintain the original angle of the cutting edge. When grinding on a rotating bench grinder, first place the rear part of the bevel face on the grindstone and then angle the edge until the whole bevel face is against the stone. The choice of grinding with or against the rotation of the grindstone is a matter of preference. Going against it produces less of a burr. Going with it avoids the risk of digging into the grindstone.
Stand steady with one foot placed beside the grinder and support yourself with the axe against a supporting stay on the grinder or with your elbow against your hip. Move the axe slowly back and forth during grinding so that the whole edge is evenly ground. Also grind evenly over the breadth of the grindstone, otherwise it will soon become warped and difficult to use. Do not leave water in the grinder’s drip cup, as this reduces the quality of the stone.
Final Steps
Finally, you need to hone the edge to remove the burr or ‘feather edge’. The feather edge occurs when the very tip of the edge has become so thin that it bends up. The feather edge is only a few tenths of a mm long, but can clearly be felt if you slide your fingertips carefully down to the edge. The honing requires first a coarse then a finer whetstone. Moisten the whetstone with water (mainly for clay and sandstone whetstones) or oil (mainly for carborundum or Arkansas whetstones), e.g. honing oil or sewing machine oil.
To make the cutting edge even keener, it can be stropped against a length of leather after honing. Run each stroke away from the cutting edge.
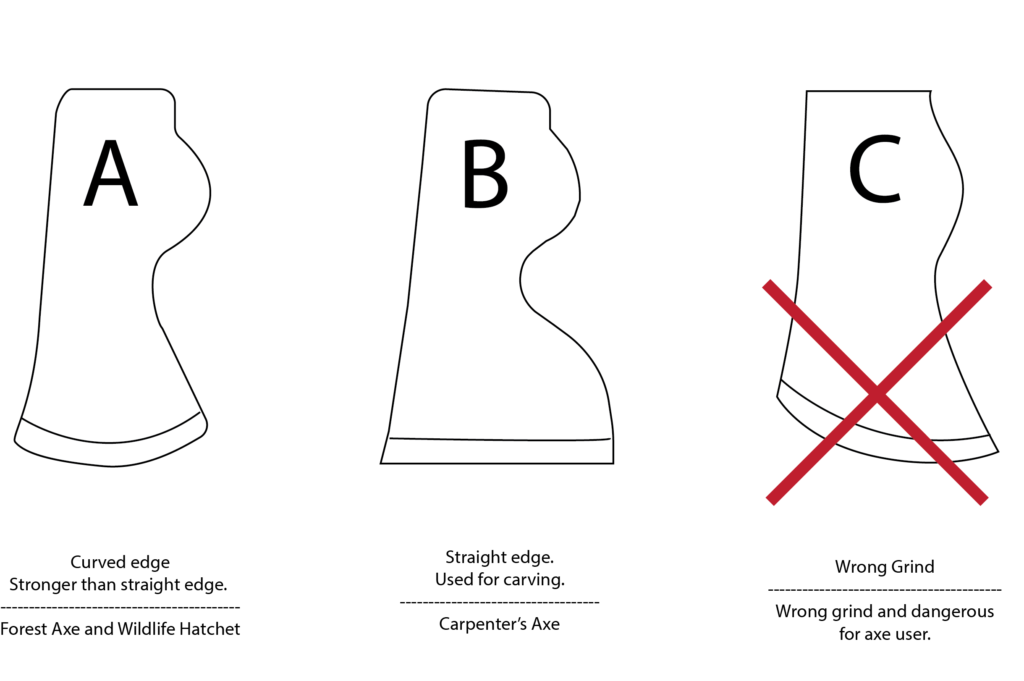
Understanding the Axe Edge
The design of the axe head is adapted to its area of use: hardwood demands axes with a fairly thick bit and a rounded bevel face, while axes with a more pointed edge are good for cutting softwood. Axes with a thin, straight edge are good for carving with, while axes with rounded edges are good for chopping in the forest. Broad axes and carving axes have many different edge designs, depending on their use and whether the user is right- or left-handed.

Fitting an axe with a handle
It’s important to use a high quality axe replacement handle.The handle and the wooden wedge need to be very dry when fitting. If not, they will dry and shrink later, loosening the head. An axe head can become loose if the axe is misused or if the handle breaks. For example, hammering on or with the poll and deforming the axe eye.
Sometimes it may be difficult to remove the handle as it is secured with resin or glue. Never burn an old handle from an axe. The heat can compromise the temper of the steel. As a result, the axe many no longer hold a good edge for a prolonged period.
Rehandling an Axe
 |
 |
 |
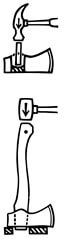
1. Saw off the old handle close to the axe head.
2. Drill out as much of the wood and glue in the axe eye as possible.
3. Once the majority of the wood and glue has been removed, the rest can be punched out from the side where you sawed off the handle.
4. Clean inside the eye of the axe with a knife.
5. Lay out two pieces of planking to support the axe head and then hammer in the new handle. Make sure the fit is secure and protrudes from the top of the axe head. Check and adjust the handle so that you have your desired angle of alignment with the head.
6. Put some glue in the wedge slit and on the wood wedge.
7. Drive in the wedge as far as it will go. Note: The wedge will protrude somewhat above the handle.
8. Saw off the excess of the handle and protruding portion of wedge, keeping approximately ¼”.
9. Finally, hammer in a three-pronged metal wedge, diagonal to the wooden wedge.
It is important that the axe handle is of high quality. The handle and the wooden wedge have to be very dry when fitting. If not, they will dry and shrink later, loosening the head. Another reason for a loose head is the incorrect use of the axe, for example hammering on or with the poll and deforming the axe eye.
Sometimes it can be difficult to remove the handle, as it is secured with resin or glue. However, never burn an old handle from an axe. The heat can cause the steel to lose its temper.